Being a South Indian brought up in the East & in a cosmo city I have enjoyed all the multi-cultural cuisines there. I developed a taste different from that of a typical South-Indian.
All dishes ranging from Bihari, Bengali, Maharashtrian, Gujarati, Punjabi, Sindhi and of course South Indian is what I have grown up with.
But, each time my mother prepared Dosas I would ask her to necessarily grind some fresh coconut chutney for me. I loved it more with the chutney than a Sambar or any curry.
I also have a new found love for Tender coconut water. It is very nourishing & rejuvenates your skin.
Many people just drink the water & throw away the coconut. Instead try the sweet & slurrpy coconut meat which is gel like. You can ask the seller to scrape out the meat. When the coconut matures the meat is thicker & will require a strong bite.
When tender it is more like gelatine.
I sometimes like to stock tender coconuts at home & offer the chilled drink it to my family whenever they come home tired. It is just so refreshing.
At home my husband wanted Dosa for dinner & the nearest vegetable vendor did not have coconuts. So, instead of using a mature coconut I thought of experimenting with the tender coconut.
I emptied the water in a glass & stored it in the refrigerator before serving. Meanwhile, I asked my husband to give me a hand to get the malai/coconut meat out of the coconut. And, VOILA! I happened to make one of the best chutneys ever!

Here is what you need:
Method:
Get a blender & throw in the malai, garlic cloves, coriander leaves, green chillies & salt. Blend them all!
Temper it with mustard seeds.
The fresh, healthy & refreshing chutney dip is ready to go with your dosas, idlis & appams!
Note:
You may skip garlic if you don't like it.
All dishes ranging from Bihari, Bengali, Maharashtrian, Gujarati, Punjabi, Sindhi and of course South Indian is what I have grown up with.
But, each time my mother prepared Dosas I would ask her to necessarily grind some fresh coconut chutney for me. I loved it more with the chutney than a Sambar or any curry.
I also have a new found love for Tender coconut water. It is very nourishing & rejuvenates your skin.
Many people just drink the water & throw away the coconut. Instead try the sweet & slurrpy coconut meat which is gel like. You can ask the seller to scrape out the meat. When the coconut matures the meat is thicker & will require a strong bite.
When tender it is more like gelatine.
I sometimes like to stock tender coconuts at home & offer the chilled drink it to my family whenever they come home tired. It is just so refreshing.
At home my husband wanted Dosa for dinner & the nearest vegetable vendor did not have coconuts. So, instead of using a mature coconut I thought of experimenting with the tender coconut.
I emptied the water in a glass & stored it in the refrigerator before serving. Meanwhile, I asked my husband to give me a hand to get the malai/coconut meat out of the coconut. And, VOILA! I happened to make one of the best chutneys ever!

Here is what you need:
- Tender coconut meat/malai - of 1 coconut
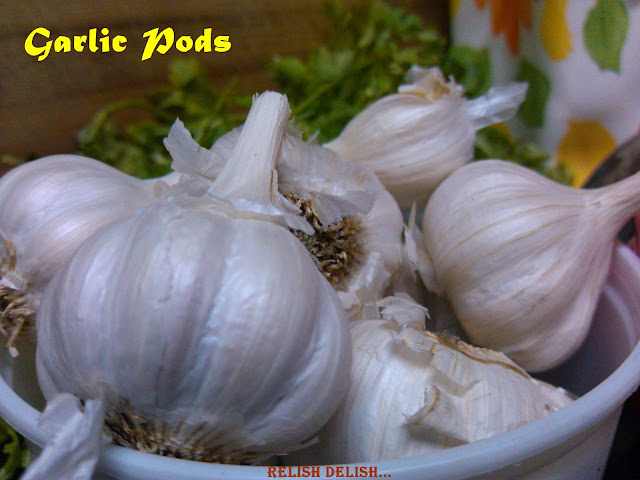
- Garlic - 6 cloves
- Green Coriander leaves - a small bunch
- Green Chillies - 2
- Mustard seeds - 1 tsp, for tempering
- Oil - 1.5 tsp, for tempering
- Salt - as per taste

Method:
Get a blender & throw in the malai, garlic cloves, coriander leaves, green chillies & salt. Blend them all!
Temper it with mustard seeds.
The fresh, healthy & refreshing chutney dip is ready to go with your dosas, idlis & appams!
Note:
You may skip garlic if you don't like it.


